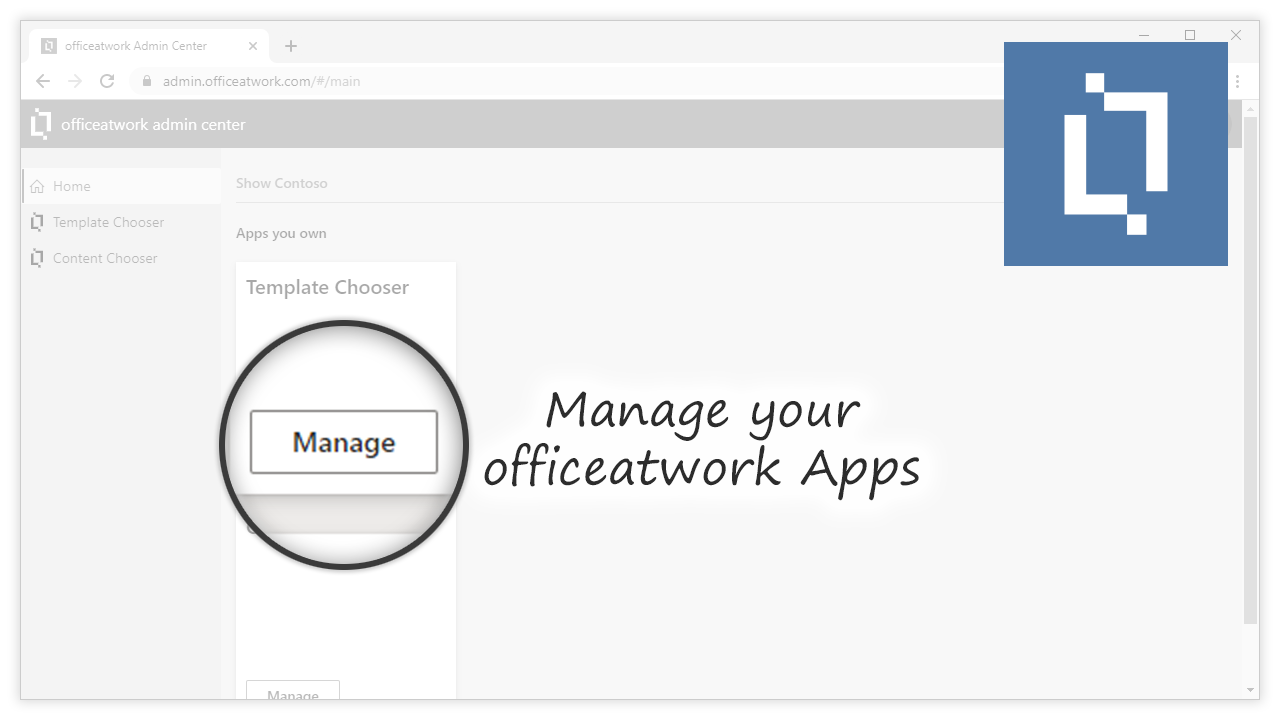
The 'Admin Center' app is where you configure all your officeatwork Apps and Add-ins.


Any modern browser is currently supported
Please note: Internet Explorer is not supported anymore.
The 'Admin Center' supports the following user accounts:

Please note: Personal Microsoft accounts are not supported.
Use the following link to launch the 'Admin Center' in your browser:
https://admin.officeatwork.com
After launching the 'Admin Center' you will be immediately taken to the Microsoft sign-in page where you need to use your Microsoft 365 account to sign in.
Use the 'Manage' buttons to manage the individual apps.
Here you can maintain your list of officeatwork Administrators. Only officeatwork Administrator users will be able to apply any changes in Admin Center.
Use the 'Add' button to add new administrators. In the fly-out search for a user and click 'Save' to add the user to the list of administrators.
Select any existing administrator(s) in the list of administrators and then click on the 'Delete' button to delete the selected administrator(s).
Use the 'Add myself' button to add yourself to the list of officeatwork administrators. This flow will trigger a consent that can only be given by a Microsoft 365 administrator. This way Microsoft 365 administrators can add themselves to the list of officeatwork administrators.
You can translate some document elements in your Office documents using a translation function in officeatwork placeholders so that your placeholders dynamically adopt to the chosen document language.
You can connect the Designer app with a translations list hosted in your SharePoint tenant.
You can create new or use any existing SharePoint list in your Microsoft 365 Tenant to act as your translations source for your officeatwork Apps. The only requirements you need to know are the following:
Title column: This column will be used as your translation key. Make sure to provide a meaningful name for each translation.
Default translation column: The columns with the default translation for each language must be named Translation. This column is required and the column name is cases sensitive. The value of this column will be used if no translation could be found in the language specific translation columns.
Language translation columns: The columns with the translations for each language must be named Translation + . + Language Code. So for French you would create a column called Translation.fr and for German you would define Translation.de etc.
To connect a SharePoint list as your translations source click on the Manage button on the 'Content Translations' card. Paste the URL of your SharePoint list into the SharePoint List URL field. Click on 'Verify' button to verify the URL. Click on Save to complete the step.
Please note:
The Admin Center needs a SharePoint read permission to validate your SharePoint List URL. In case that permission has not yet been granted you will see a 'Connect' button. Press that and complete the Grant flow to allow the Admin Center to read from your SharePoint tenant.
You can manage your translations using the native SharePoint UI for editing SharePoint lists.
You can use the translations via the translate() function. Here is an example:
{{ translate('TranslationKey') }}
Available for Template Chooser, Content Chooser, Image Chooser, Slide Chooser, Designer, Wizard, Verifier, and Uploader
You can customize the analytics settings that will allow you to get insights into the usage of your assets and data used within the officeatwork Apps and Add-Ins.
Available for Designer
You can extend the properties of your Office 365 Input Field by linking existing extension properties configured in your Microsoft 365 tenant.
Use the 'Add' button to create a new Custom Extension. Select a Custom Extension and click the 'Delete' button to delete the Custom Extension. The order of the Custom Extensions is irrelevant as the list in the Designer is sorted alphabetically.
The 'Extension Name' dropdown is automatically populated with all extension properties available in your Microsoft 365 tenant.
Please note:
Each extension property can be linked only once . The Dropdown will filter out already linked extension properties.
In the 'Display Name' text field a user readable name can be defined for the linked extension property. The Display Name will be used in the Designer.
Available for Template Chooser, Content Chooser, Image Chooser, and Slide Chooser
You can enable or disable library sources by clicking 'Manage' and then choosing 'Enable' or 'Disable' accordingly.
Available for Mail Signature
Define your custom mail signature to be brand compliant and include dynamic data so that it is personalized for all your employees. Click on 'Mange' to customize your mail signature template.
The template panel will allow you to customize your signature.
A preview of the different Mail Signature options for 'New', 'Forward', and 'Reply' is constantly updated for you to see the effect of your changes to the mail signature template.
Please note:
All links you use in your signature template should be secure links starting with https:// and not http://. Non secure links might automatically be removed by Outlook when inserting the signature into your email.
<p style="
font-family: system-ui, 'Segoe UI', Roboto, Oxygen, Ubuntu, Helvetica, Arial, sans-serif;
font-size: 14px;
line-height: 1.4;">
<strong>{{ user.displayName }}</strong><br>
{% if user.businessPhones[0] %}{{ user.businessPhones[0] }}<br>{% endif %}
<a href="mailto:{{ user.mail }}" target="_blank" rel="noopener noreferrer">{{ user.mail }}</a><br>
</p>
Use this menu to insert a HTML reference to images you uploaded via the Images tab.
Use this menu to insert Nunjucks templating engine reference to user properties coming from your Azure AD.
Conditions can help you isolate parts (or the entire signature template) for specific scenarios. You can for instance show a different signature for mail messages and appointment messages, internal or external mail recipients, HTML or TXT formatted messages etc.
Please be aware, that any part of the signature that is not encapsulated by a specific condition will be visible for all scenarios.
Use the 'Mail Conditions' menu to insert Nunjucks templating engine logic to differentiate between scenarios.
Here is the list of the available conditions:
Message mail.isMessage
Appointment mail.isAppointment
Please note:
All of the above listed conditions are subject to your Outlook version supporting the condition. Check our Mail Signature Compatibility article in our help center for more detials.
With this condition options you can create a specific signature for mail messages and appointments. mail.isMessage will return True for all email messages (new, reply, and forward). mail.isAppointment will return True for appointments only.
With this condition options you can create a specific signature or parts of a signature that will apply (render) for new, forward or reply messages only. mail.isNew will return True for new email messages. mail.isForward will return True for forwarded email messages. mail.isReply will return True for reply email messages
With this condition options you can create a specific signature or parts of a signature that will apply (render) for text or HTML messages only. mail.isHtml will return True for HTML formatted email messages. mail.isPlainText will return True for text only formated email messages.
With this condition option you can create a specific signature or parts of a signature that will apply (render) for internal or external audiences only. As soon as one recipient is not from within your organization the constant mail.isExternal will return True. As long as all recipients are from within your organization the constant mail.isInternal will return True.
Please note:
It can take up-to 30 minutes for new users that got added to your organization to get recognized as internal recipients. Please also note that by default officeatwork will return true for isExternal and false for isInternal if the condition is not supported by your platform or there are no recipients defined.
You can use the locale.code constant to evaluate the chosen language for your mail Signature.
locale.code is set according to the following priorities:
Choice the user made via the Outlook Mail Signature add-in.
Outlook application language if found in the list of supported languages defined in the mail signature template. The matching is done culture tolerant, meaning a match is made if only the language is matched without a matching culture setting.
User's Microsoft 365 language if found in the list of supported languages defined in the mail signature template. The matching is done culture tolerant, meaning a match is made if only the language is matched without a matching culture setting.
First language in the list of languages defined in the mail signature template.
Here some possible sample values:
EN
EN-US
EN-UK
FR
etc.
The images panel will allow you to upload images that can be used in your mail signature template.
Use the 'Add' button to upload images.
Select an image in the list and then use the 'Delete' button to delete that image. Please remember to also remove the links in your Mail Signature template to that image.
Available for Template Chooser, Content Chooser, Image Chooser, Slide Chooser, and Mail Signature
Use the 'Add' button to create a new library. Select the library and click the 'Delete' button to delete the library. Drag-and-drop your libraries to sort them in the order you want them to appear in the library picking experiences in the add-ins and Apps for your users.
Please note: Changes made to the list of libraries will not appear for signed-in App or Add-in users immediately, but can take up to 60 minutes. If a user wants to see the changes sooner, then they need to sign-out and back into the App or Add-in.
Paste the URL of your SharePoint document library into the 'Linked Document Library' field and press 'Verify' to check if the URL resolves. If it does it will be replaced with the name of the SharePoint document library and become a link so that you can easily navigate to that library.
In the Name file give your library a Name that your users will see in the list of available libraries. If you need to translate the name into different languages switch to the 'Translation' section to capture your translations.
The translation section will allow you to capture a translation for your library so that your users see the name of your library in their user interface language. Click 'Add' to create a new translation and choose a language for the translation. Repeat this until you have captured all translations.
In this section you can define in what applications this library should appear in. Tick each application you want this library to be visible in.
The Users section will allow you to define who can see this library in the list of available libraries. Choose 'Everyone' if you want all users to see the library or chooser 'Specific Users and Groups' if you want to scope the visibility of the library to specific users and/or groups.
Available for Designer
You can translate some UI experiences in your officeatwork Apps to offer your users an app experience in their preferred language.
You can connect the Designer app with a translations list hosted in your SharePoint tenant.
You can create new or use any existing SharePoint list in your Microsoft 365 Tenant to act as your translations source for your officeatwork Apps. The only requirements you need to know are the following:
Title column: This column will be used in our translation picker experience. Make sure to provide a meaningful name for each translation.
Translation columns: The columns with the translations for each language must be named Title + Language Code. So for French you would create a column called Title.fr and for German you would define Title.de etc.
To connect a SharePoint list as your translations source click on the Manage button on the UI Translations pane. Paste the URL of your SharePoint list into the SharePoint List URL field. Click on 'Verify' button to verify the URL. Click on Save to complete the step.
Please note:
The Admin Center needs a SharePoint read permission to validate your SharePoint List URL. In case that permission has not yet been granted you will see a 'Connect' button. Press that and complete the Grant flow to allow the Admin Center to read from your SharePoint tenant.
You can manage your translations using the native SharePoint UI for editing SharePoint lists.